
Pruning
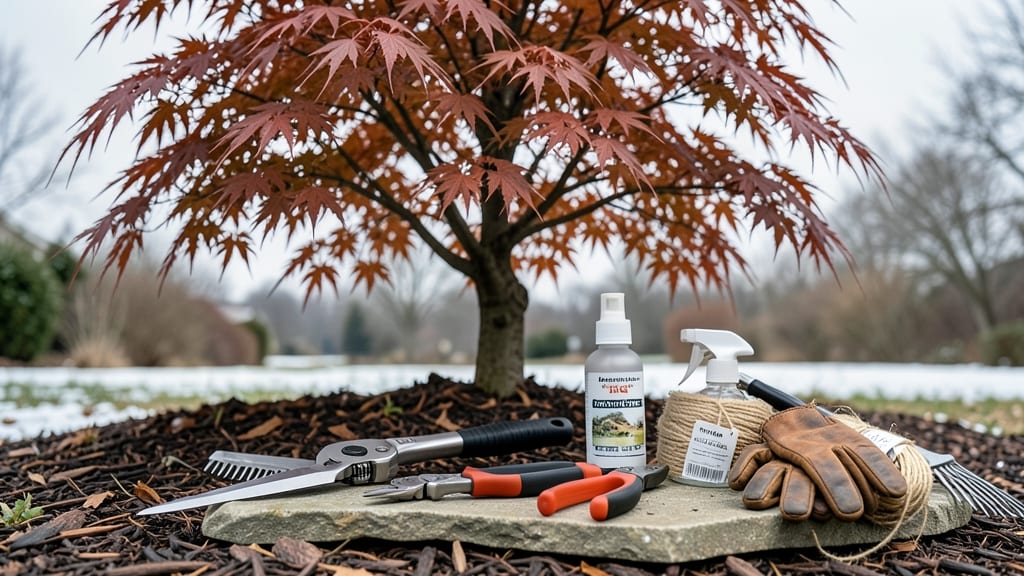
How to trim a Japanese maple tree in winter reveals its true structure—when the leaves are gone, you can see exactly where to shape it for stronger spring growth. ✂️ I learned the hard way that winter is the only time to prune these delicate trees without risking disease or stressing the branches. The key is working during dormancy, when the tree focuses energy on roots instead of healing wounds.
You’ll need sharp bypass pruners, rubbing alcohol for sterilizing cuts, and a ladder if branches are high. Gloves protect your hands from thorns, and a tarp catches falling debris. The goal isn’t to remove dead wood—it’s to open up the canopy for sunlight and air circulation.
Start by removing any dead, crossing, or rubbing branches first, then thin out crowded areas by 20-30% at most.
After each cut, seal larger wounds with pruning sealant to prevent moisture loss. Japanese maples heal slowly, so avoid heavy pruning—small, strategic cuts encourage vibrant new growth. By late winter, you’ll see fresh buds forming, ready to burst into color when spring arrives.
The tree will reward you with denser foliage and fewer weak branches next season.
This method works for all Japanese maple varieties, from dwarf cultivars to large specimens. Just remember: patience is key. Over-pruning now means fewer blooms and slower recovery. For best results, trim every 2-3 years instead of yearly. Your tree will thank you with lush, healthy foliage by summer.
📚 In This Guide
- What you need
- Instructions
- Tips and common mistakes
- Wrapping up and next steps
What you need
- ● Pruning shears: Bypass pruners (for cuts up to ½ inch thick) – sharp and clean is key!
- ● Loppers: 1 pair (for cuts up to 2 inches thick) – long-handled for reach.
- ● Pruning saw: 1 (for larger branches over 2 inches thick) – curved blade for clean cuts.
- ● Disinfectant: 70% isopropyl alcohol or pruning sealant (to prevent disease spread).
- ● Gloves: Heavy-duty gardening gloves (to protect from thorns and sap).
- ● Ladder: Sturdy, extendable ladder (if your tree is over 6 feet tall).
- ● Twine or zip ties: For temporary support if removing large branches.
- ● Trash bags: Heavy-duty (for collecting pruned branches).
- ● Hand pruners with ratcheting mechanism: For extra leverage on stubborn branches.
- ● Pole pruners: If you’re working from the ground on high branches.
- ● Tree wound dressing: (Controversial but some swear by it for large cuts.)
- ● Work boots: With ankle support for stability on uneven ground.
- ● Safety glasses: To shield from flying debris.
Step-by-Step instructions for trimming Japanese maple trees in winter
Winter’s the perfect time to shape your Japanese maple—here’s how to do it right for vibrant spring growth.
✂️ Step 1: Gather the Right Tools and Safety Gear
Start with sharp, clean tools to avoid tearing bark or spreading disease. I always use bypass pruning shears for branches under ¼ inch thick and a pruning saw for thicker stems. A ladder (if needed) and gloves protect your hands from thorns and rough edges. Wear safety glasses too—sap and debris fly when you’re cutting.
Disinfect your tools with 70% rubbing alcohol or a 10% bleach solution before you begin. This prevents spreading fungal infections between cuts. I like to wipe down blades between each major cut, especially if the tree has signs of disease like oozing sap or dead branches.
🌿 Step 2: Assess the Tree’s Structure and Remove Dead or Damaged Wood
Look for dead branches—they’re brittle, snap easily, and have no green tissue inside when you cut them. Also remove any branches that cross or rub against each other, as these will eventually create wounds. Start at the outer edges and work inward, so you don’t accidentally block your view of the tree’s center.
Next, identify weak or diseased wood. If a branch has peeling bark, discolored sap, or mushrooms growing at the base, cut it out completely. Japanese maples are sensitive to stress, so don’t leave stubs—cut just outside the branch collar (the swollen area where the branch meets the trunk). This helps the tree heal faster.
☀️ Step 3: Thin Out the Canopy for Better Airflow and Light
Japanese maples grow best with open, airy canopies—this prevents fungal diseases and encourages strong new growth. Remove up to 25% of the tree’s branches, focusing on the innermost branches first. These are often shaded and compete for resources. Aim to create a balanced shape by thinning evenly from all sides.
Watch for water sprouts—those fast-growing, upright shoots that pop up in winter. These sap-suckers drain energy from your tree, so cut them off at the base. You’ll also want to shorten overly long branches by one-third to maintain the tree’s natural form. Avoid heavy pruning in one area—this can create an uneven silhouette.
⏰ Step 4: Shape the Tree for Balance and Aesthetics
Now’s the time to refine the tree’s shape. Japanese maples have distinctive growth habits, so follow their natural form rather than forcing a rigid look. Step back often to check your progress—you want a harmonious silhouette that doesn’t look too dense or too sparse.
For upright-growing branches, I like to shorten them slightly to encourage bushier growth. For weeping varieties, avoid cutting the longest, lowest branches—these define the tree’s graceful form. If you’re unsure, leave it—Japanese maples are forgiving, and you can always adjust next winter.
🪴 Step 5: Clean Up and Apply Wound Dressing (If Needed)
After pruning, rake up all debris and dispose of it properly—don’t leave branches on the ground, as they can harbor pests. Wipe down any large cuts with a 10% bleach solution to prevent infection. For cuts over ½ inch thick, you can apply pruning sealant (like Tanglefoot Tree Wound Pruning Sealer) to protect the wound, but many experts say it’s unnecessary—Japanese maples heal well on their own.
Water the tree deeply after pruning to help it recover. Mulch around the base with 2-3 inches of organic mulch (like shredded bark) to retain moisture and regulate soil temperature. Avoid piling mulch against the trunk—keep it 2-3 inches away to prevent rot.
Tips & tricks for perfect Japanese maple tree trimming
Winter pruning transforms your Japanese maple into a healthier, more vibrant tree for spring. Here's what I've learned after years of shaping my own trees.
Tool Selection Matters: I can't stress enough how important sharp tools are—dull blades tear bark and create larger wounds that take longer to heal. For branches over ¼ inch thick, I always use a pruning saw with a fine-toothed blade. The teeth should be sharp enough to cut cleanly without crushing the wood. If you're unsure about your tools, test them on a small branch first to check the cut quality.
The 25% Rule for Canopy Thinning: When you're removing branches in Step 3, remember that Japanese maples thrive with open canopies. The 25% guideline isn't arbitrary—it's based on how much foliage the tree can support without stress. Focus on removing the oldest, innermost branches first, as these are often the most shaded and least productive. This creates room for new growth while maintaining the tree's natural shape.
Branch Collar Precision: One mistake I made early on was leaving stubs when cutting branches. Always cut just outside the branch collar—the swollen area where the branch meets the trunk. This allows the tree to seal the wound naturally. If you cut flush with the trunk, you create a larger wound that's more susceptible to disease. For branches under ¼ inch thick, make your cut at a slight angle to help water run off.
Seasonal Timing Insight: While winter is ideal, there's actually a narrow window between late November and early March when temperatures stay consistently below freezing. This dormancy period means the tree isn't actively growing, so it can handle pruning without stress. If you're in a particularly mild winter, aim to prune before buds begin to swell—this is your tree's signal that spring is coming.
Pro Tips for Trim A Japanese Maple Tree In Winter
- Winter pruning transforms your Japanese maple into a healthier, more vibrant tree for spring. Here's what I've learne...
- Tool Selection Matters: I can't stress enough how important sharp tools are—dull blades tear bark and create larger w...
- The 25% Rule for Canopy Thinning: When you're removing branches in Step 3, remember that Japanese maples thrive with ...
Frequently asked questions
Got questions about trimming your Japanese maple in winter?
You’re not alone! Here are answers to the most common concerns—so you can prune with confidence and set your tree up for a stunning spring.
Can I trim my Japanese maple in late winter instead of early?
Yes, but aim for early winter (before heavy frosts) for best results. Late winter trimming is still safe, but avoid pruning too close to bud break (late February–March), as new growth may be vulnerable to late frosts. If you must wait, prioritize dead or diseased branches first.
Will trimming in winter harm my tree’s delicate branches?
Not if done correctly! Japanese maples are dormant in winter, so their branches are tougher and less prone to damage. Use sharp, clean tools and avoid over-pruning—never remove more than 25% of the canopy in one season. Thinner branches may snap, so cut just outside the branch collar.
Do I need to seal pruning cuts on a Japanese maple?
No—never use sealants like paint or tar. Japanese maples heal naturally, and sealants can trap moisture, leading to rot. Just make clean cuts at a 45-degree angle (for branches > ½ inch thick) and let the tree’s natural healing process take over. Prune on a dry day to speed recovery.
What if my Japanese maple has no leaves in winter—how do I know what to trim?
Dormant trees can be tricky, but focus on:
- Dead or dying branches (crisscrossing, dry, or hollow)
- Water sprouts (fast-growing, vertical shoots)
- Crossing or rubbing branches (friction weakens the tree)
- Overly dense areas (look for clusters where light can’t penetrate)
What’s the worst mistake to avoid when pruning a Japanese maple?
The biggest no-no? Topping (cutting the main stem flat). This stunts growth, creates ugly stubs, and invites disease. Instead, use the “open-center” method—shape the tree to allow light and air circulation while preserving its natural form. Think of it as sculpting, not hacking!
Will winter pruning encourage more flowers or fruit next year?
Not directly—Japanese maples are prized for their foliage, not flowers/fruit. However, proper winter pruning does improve overall health, leading to vibrant spring leaves and better resistance to pests. For flowering varieties (like Acer palmatum ‘Bloodgood’), prune after blooming in early spring instead.
Wrapping up and next steps
Trimming your Japanese maple in winter is a game-changer—it sets the stage for vibrant spring growth and keeps your tree healthy for years to come! 🌿 By following these steps—like pruning during dormancy, using sharp tools, and shaping with care—you’ll encourage strong branches and stunning foliage.
Remember, patience and precision pay off!
Now that you’re armed with the know-how, grab those pruners and get started! 🌱 If you’re unsure about a tricky cut or need inspiration for design, don’t hesitate to consult a local arborist or snap a photo for a second opinion.
Happy pruning—your Japanese maple will thank you with breathtaking blooms next season!