
Pruning
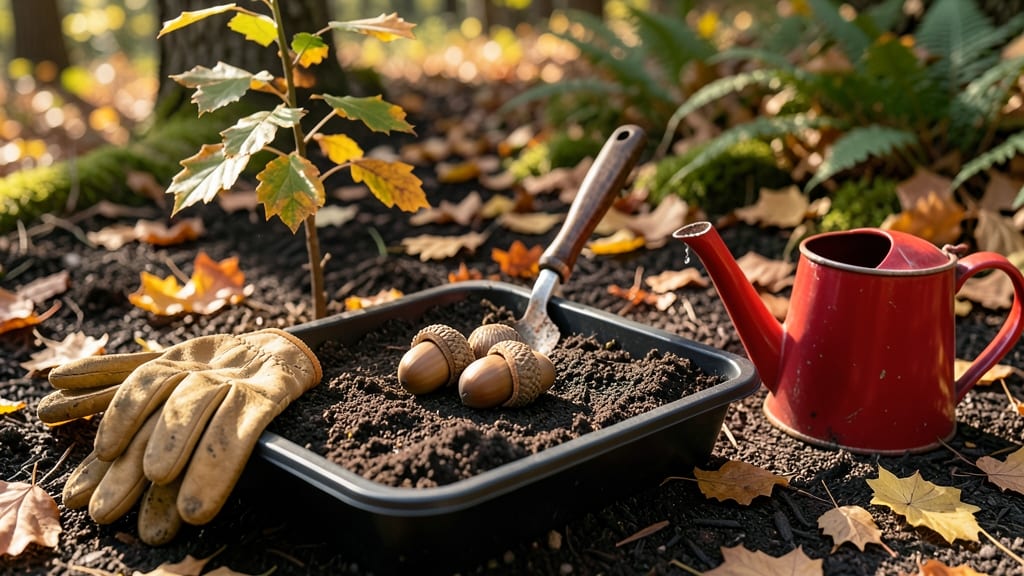
Growing oak trees from acorn seeds is the ultimate long-term project—your future shade tree starts with just 4 weeks of cold stratification. 🌱 I’ve turned dozens of acorns into sturdy saplings, and the secret lies in mimicking nature’s timing.
Most people skip this step and wonder why their acorns never sprout, but a little winter in the fridge breaks dormancy like magic. You’ll need fresh acorns from mature oak trees (white oaks sprout faster than red oaks), a plastic bag with damp peat moss or paper towels, and patience.
The stratification process is simple: layer acorns between damp materials, seal them in a bag, and refrigerate for 4-6 weeks. Check weekly for sprouts—those tiny roots mean success. Once sprouted, plant them in well-draining soil outdoors in fall or early spring.
Keep the soil moist but not soggy, and protect young seedlings from deer or rabbits. By year three, you’ll have a 1-foot-tall sapling ready to thrive in your yard. This method works for any oak variety, and the payoff—centuries of shade—is worth every step. Let’s get those acorns sprouting!
📚 In This Guide
- What you need
- Instructions
- Tips and common mistakes
- Wrapping up and next steps
What you need
- ● Acorn seeds: Fresh, plump acorns (preferably from oak trees like Quercus robur or Quercus alba). Aim for 5–10 seeds to increase success rates.
- ● Cold stratification setup: Ziplock bags or breathable paper towels
- ● Moistened peat moss or coconut coir (1 cup per 5 seeds)
- ● Plastic container with lid (or a sealed bag)
- ● Planting pots: Small nursery pots (3–4 inches wide) or seed trays with drainage holes (1–2 pots per seed).
- ● Well-draining potting mix: A blend of 50% peat moss, 30% perlite, and 20% sand (or a pre-mixed seed-starting mix).
- ● Spray bottle: For gentle watering (avoid over-saturating seeds).
- ● Plastic wrap or humidity dome: To retain moisture during germination.
- ○ Pruning shears: For trimming acorns (optional—only if removing caps or damaged husks).
- ● Thermometer: To monitor cold stratification temps (ideal: 35–45°F).
- ● Grow lights or sunny windowsill: For seedlings after germination (6–8 hours of light/day).
- ○ Fertilizer: Balanced, water-soluble fertilizer (e.g., 5-5-5) for seedlings (optional, use sparingly).
- ● Label markers: To track seed varieties and planting dates.
Step-by-Step instructions for cold stratifying acorn tree seeds
Here's the reliable method I've used to break acorn dormancy and get sprouts in just 4 weeks.
🌱 Step 1: Harvest and Prepare Fresh Acorns
Collect acorns in late fall when they've fallen naturally—they'll have the highest germination potential. Look for plump, heavy acorns with intact caps (the little "hats" on top). Avoid any that feel soft, moldy, or have holes from insects. Rinse them gently under cool water to remove dirt, then let them dry completely on a paper towel for 24 hours.
Here's the thing—only 10-20% of acorns will germinate naturally, so don't stress if some don't sprout. I like to soak them in lukewarm water for 24 hours before stratification to soften the shell slightly. This isn't required, but it can speed up the process by a few days. Drain them well afterward and let them air-dry again for 1 hour.
💧 Step 2: Cold Stratify Using the Moist Sand Method
Fill a quart-sized zip-top bag with clean play sand or perlite (not garden soil—it can introduce mold). Moisten the sand until it feels like a damp sponge when squeezed, with just a few drops of water escaping. I use about 1 cup of sand per 10 acorns.
Add your acorns to the bag, then seal it tightly, squeezing out all the air. Place the bag in a refrigerator (not the freezer) where temperatures stay between 35-45°F. Store them vertically so the acorns don't get crushed. Check them weekly—if you see any mold, remove those acorns immediately and discard them.
⏰ Step 3: Monitor and Test for Germination
After 4 weeks of cold stratification, remove the bag from the fridge and inspect the acorns. You'll see some have developed a tiny white root (called a radicle) or a small crack in the shell. This is your signal that germination is about to happen. Don't rush—let them sit at room temperature for another 2-3 days to complete the process.
Here's where it gets exciting: place the stratified acorns between two damp paper towels in a shallow container. Fold the towels over them and keep them slightly moist (not soggy). Within 7-14 days, you should see the first sprouts emerge. Watch for the radicle to grow to about ½ inch long before transplanting—this ensures the seedling has enough energy to survive.
🌿 Step 4: Transplant Sprouted Acorns into Soil
Fill small 3-inch pots with a mix of 50% potting soil and 50% perlite to improve drainage. Make a ½-inch deep hole with your finger and gently place the sprouted acorn in, radicle-side down. Cover it lightly with soil, leaving the top of the acorn exposed. Water gently until moisture seeps out the bottom of the pot.
Place the pots in a warm, bright spot with indirect light (a north-facing window works best). Keep the soil consistently moist but never soggy—you'll know it's right when the top inch feels damp but not wet. In about 4-6 weeks, you'll see the first true leaves emerge, signaling that your little oak tree is well on its way.
Tips & tricks for perfect acorn tree sprouts
These little tricks will help you maximize your chances of success with acorn germination.
Selection Matters: In Step 1, when harvesting acorns, focus on those that are plump, heavy, and have intact caps. I've found that acorns from white oaks (like bur oaks) germinate more reliably than those from red oaks. The cap should fit snugly—if it comes off easily, the acorn might be too dry. Also, avoid any with visible cracks or insect holes, as these often indicate poor viability.
Moisture Control: During the 4-week cold stratification in Step 2, maintaining the right moisture level is critical. The sand should feel like a damp sponge—if it's too dry, germination rates drop significantly. I like to check moisture weekly by squeezing a small amount of sand; if it crumbles, add a tiny bit of water and mix well. Too much moisture leads to mold, which can ruin your entire batch.
Visual Cues for Germination: In Step 3, when inspecting your acorns after 4 weeks, look for two key signs: a tiny white root (radicle) emerging from the bottom or a small crack appearing in the shell. These are your clear indicators that stratification worked. Don't rush to transplant—wait until the radicle reaches about ½ inch long, as this ensures the seedling has enough energy to establish itself in soil.
Light Requirements: For Step 4, when transplanting your sprouted acorns, indirect light is crucial during the first 4-6 weeks. A north-facing window provides perfect conditions, but you can also use a grow light if your space lacks natural light. Direct sunlight can scorch young seedlings, while too little light causes them to grow leggy and weak. Keep the soil consistently moist by checking the top inch daily.
Pro Tips for Acorn Tree Seeds
- These little tricks will help you maximize your chances of success with acorn germination.
- Selection Matters: In Step 1, when harvesting acorns, focus on those that are plump, heavy, and have intact caps. I'v...
- Moisture Control: During the 4-week cold stratification in Step 2, maintaining the right moisture level is critical. ...
Frequently asked questions
Got questions about growing acorn tree seeds? You’re not alone! Here are some of the most common queries—and their straightforward answers—to help you succeed with cold stratification and sprouting.
How long does cold stratification take for acorn seeds?
Cold stratification typically takes 4–8 weeks for acorn seeds. Most varieties (like white oak) sprout best after 6–8 weeks in the fridge, while red oak may need just 4 weeks. Monitor moisture levels—damp (not soggy) is key!
Can I skip cold stratification for faster germination?
While possible, skipping stratification reduces success rates significantly. Acorns are adapted to winter’s chill, so mimicking it breaks dormancy. If impatient, try soaking seeds in warm water for 24 hours before stratification for a slight boost—but expect lower yields.
What’s the best soil mix for acorn seedling growth?
Use a light, well-draining mix like:
- 60% peat moss or coco coir
- 30% perlite or vermiculite
- 10% sand or compost
Why aren’t my acorn seeds sprouting after stratification?
Common culprits:
- Old seeds: Acorns lose viability after 1–2 years.
- Inconsistent moisture: Let them dry out, and they’ll fail.
- Wrong temperature: Too warm (above 70°F) halts germination.
- Depth issues: Plant ½-inch deep—too deep = rot.
Can I grow acorns from any oak tree?
Not all acorns are created equal! White oak (e.g., bur, overcup) and red oak (e.g., pin, blackjack) are the easiest. Avoid live oaks or scrub oaks—they’re harder to germinate. Always collect from healthy, mature trees (not fallen acorns—animals may have nibbled them!).
Pro Tip:
Label your acorn seeds! Oak trees take 10–20 years to mature—track varieties to ensure you’re growing the tree you intended. A sharpie on a popsicle stick works perfectly!
Wrapping up and next steps
Growing acorn tree seeds through cold stratification is a rewarding journey that unlocks the potential of nature’s hidden treasures! 🌱 With just a few simple steps—like gathering fresh acorns, preparing the right soil mix, and a little patience—you’ll be nurturing tiny sprouts in as little as four weeks.
Whether you're a gardening novice or a seasoned green thumb, this method opens the door to cultivating your own oak tree from scratch.
Ready to take the next step? Start by gathering acorns this fall and follow the guide to kickstart your oak tree adventure. Who knows? You might just grow the future shade provider for your backyard! 🌳✨